How to make a scrapbook (step-by-step)
The thought of turning a pile of photos, paper, and memories into a visual masterpiece can be both thrilling and a little overwhelming. Scrapbooking is a fun and engaging art form that is used to preserve memories from special moments however, if you’re not the crafty type, it would seem difficult. Fear not, learning how to make a scrapbook is actually pretty fun, so it does not feel like a big project because there are no rules in scrapbooking.
Today, we'll explore the step-by-step guide on how to make a scrapbook and teach you some spicy ideas to lighten up those pages. So, grab your favorite pair of scissors, and let's embark on this creative journey!
What You Need To Make A Scrapbook
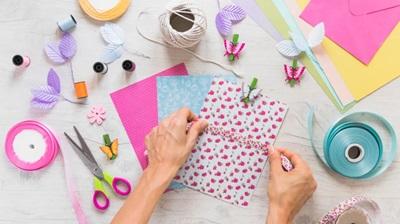
The best thing about making a scrapbook is that you may not need to spend too much money buying supplies because they are not overly expensive. Besides, you can find most of the things you need at home. These are some supplies to get you started.
- Scrapbook Notebook: Some people use a scrapbook album with open rings or a binder so that they can remove and add papers easily, but a notebook—preferably a spiral-bound— refillable notebook would work just as well. Choose something sturdy because you want your book to last a long time.
- Papers: Buy quality paper in various colors and textures to add to your binder. This will be the canvas, so make sure you buy enough. Papers can also be used for cutouts or note cards. People who buy an album binder with open rings to use for their scrapbook will also need paper to use as scrapbook pages.
- Adhesive: One thing you’re going to do when scrapbooking is glue a lot of stuff to your pages. A good adhesive like glue sticks, double-sided tape, or glue dots is necessary.
- Scissors: Invest in a pair of sharp, precise scissors for cutting paper and photos. Remember, use the pair of scissors only for cutting paper and nothing else, or it will become blunt.
- Printed Photos: Raid your photo collection and print out the ones that you love.
- Pens and Markers: Choose pens with different tip sizes for journaling and adding captions. Markers are great for doodles and artwork.
These are optional, but they will definitely improve your scrapbook.
- Craft Paper: get decorative paper to use as text bobbles and for decorative crafts for your scrapbook.
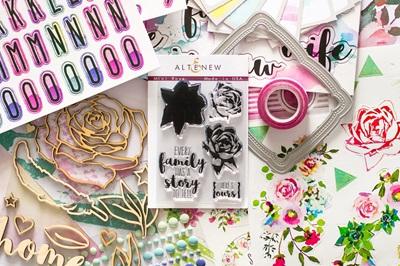
- Stamps and Ink Pads: You can spice up your pages with decorative stamps using different ink colors.
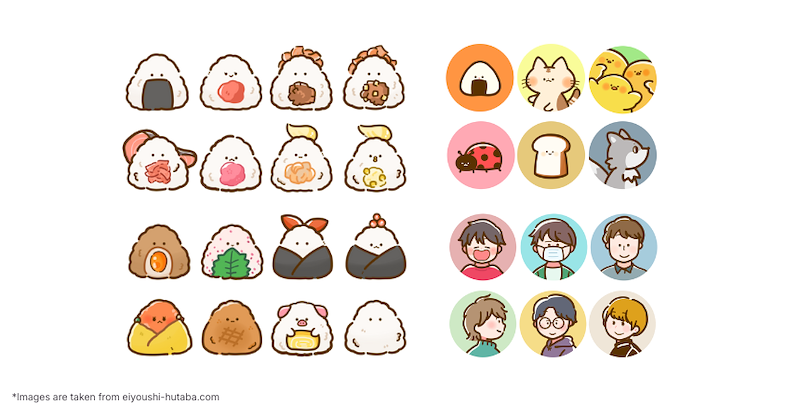
- Stickers: From cute animals to florals and even quotes, stickers are the cherry on top of your scrapbooking sundae.
- Washi Tape: Washi tapes are the unsung heroes of scrapbooks; they can be used to add that pop of color to your pages. There are so many creative washi tape art ideas that you can try out on your scrapbook.
Step-By-Step Guide On How To Make A Scrapbook
Choose Your Theme and Photos
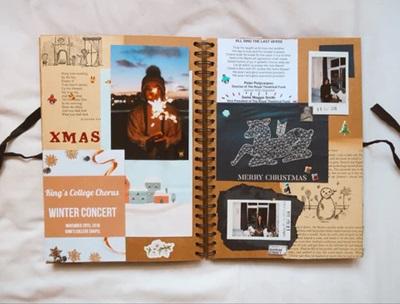
Before you start gluing pictures onto your scrapbook, you have to decide what the theme is. Is it a travel journal, a celebration of friendships, a Christmas scrapbook, or a review of the entire year? You should probably decide on your theme before buying scrapbook materials; that way, you’ll buy stickers to match your theme. For instance, a Christmas theme scrapbook will look great with reindeer or Santa stickers instead of general ones. Once you've got your theme, gather all of your supplies and choose the proper photos to print.
Organize Your Materials
No one likes standing up to look for other materials when they’re working. Lay out all your materials in a comfortable workspace before you start working. Having everything within arm's reach will keep the creative flow going.
Sort out Your Photos and Embellishments
So now, you have a lot of photos that suit your theme, but you may have printed way more than you actually need. Lay out all of your pictures and choose the ones that go onto each page. Depending on the size of the photos, you can choose around 3 - 6 pictures per page, and they should represent one day, event, or month. The point is the pictures you choose should be connected in some way. For instance, if it is a year-in-review scrapbook, set aside January photos, February photos, and so on. If it is a travel scrapbook, set aside the landscape photos or a day’s activity photos.
Create Your Scrapbook Layout
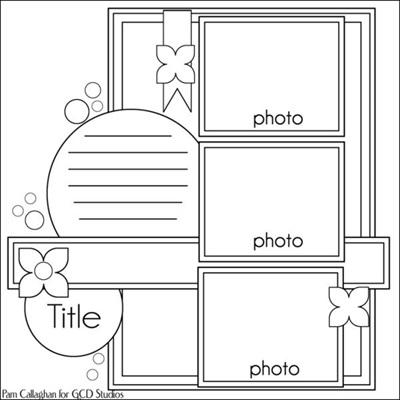
Open a blank page in your scrapbook and brainstorm how you want to place your photos, notes, and stickers. There are many types of layouts you can choose, so experiment with different ones. Instead of jumping right in, this step would give some sort of order to your pages. Draw a rough draft of your picture, sticker, title, and note placement to guide you.
Photo Placement

There are different ways to place photos, but the most popular method is having a main focal photo and smaller supporting ones. You should also try placing photos at angles, overlapping them, or creating clusters to add depth to your scrapbook. If some pictures are too large, trim them to fit into the page, and don’t always stick to the square shape for photos. Play with the arrangement until you find a design that feels just right.
Add Captions or Text
This is where your memories come to life. Share the who, what, when, and why behind each photo. You can add notes on a separate colored paper, use a note sticker, or write directly on your scrapbook page. Using a different paper for notes allows you to add another touch of color to your page. Don’t forget to use the best pens for journaling so that the ink would not smear or fade over time. Your notes add a personal touch that transforms a scrapbook into a narrative.
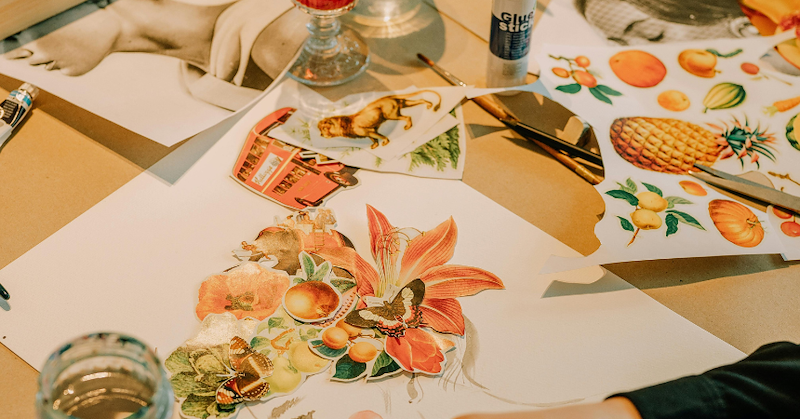
Add Stickers and Other Embellishments
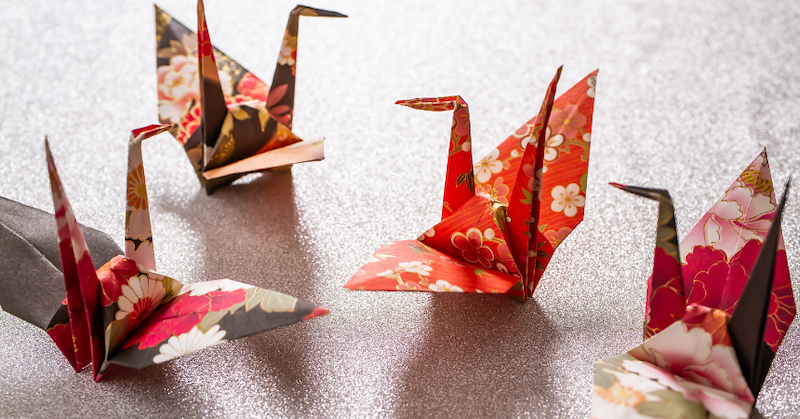
Now comes the fun part—embellishments! place stickers, washi tape borders, twine, ribbons, origami, cutouts, and any decorative elements connected to your theme. Don't be afraid to let your creative instincts guide you.
Secure Everything in Place
Once you're satisfied with the arrangement, use a strong adhesive to secure everything in place. So far, you should have just been placing all of the scrapbook elements in the spot you want them to stay in. Only glue everything in place when you’re sure about the placement. Make sure to press down firmly to avoid any peeling or shifting.
Protect Your Masterpiece
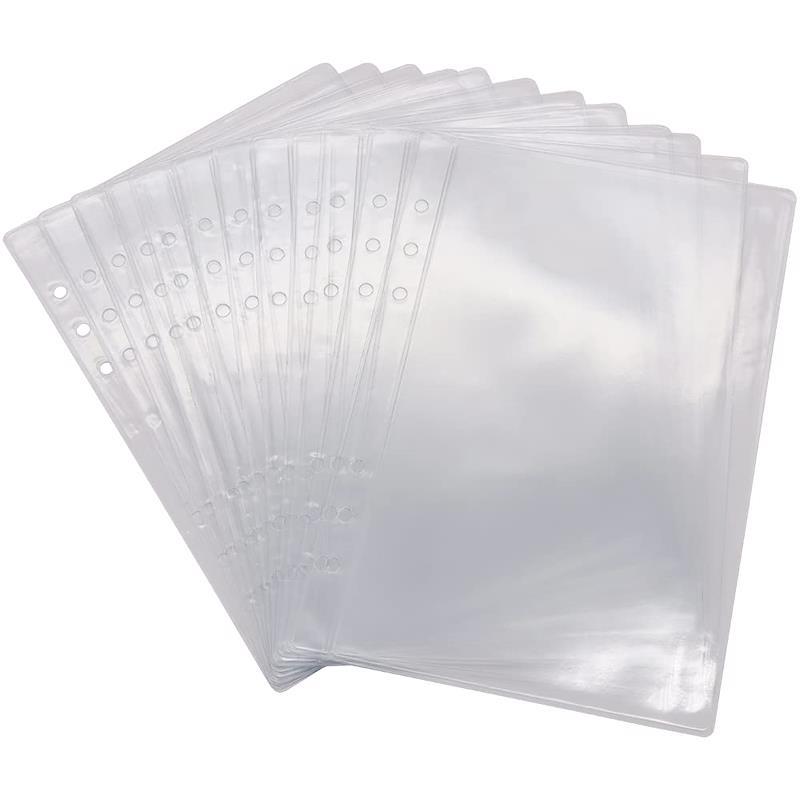
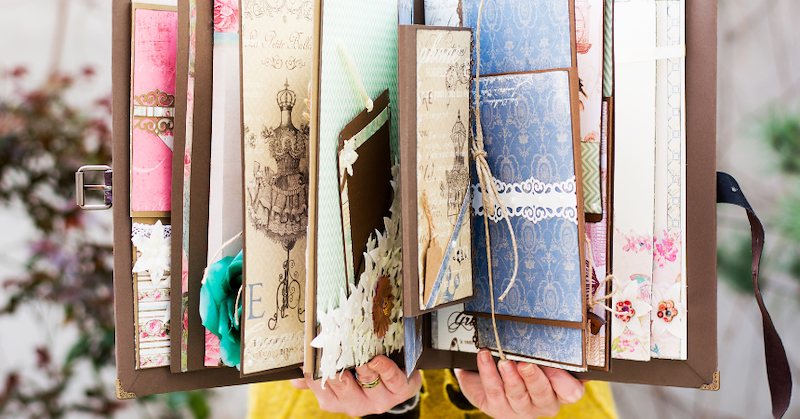
This is the last thing you should do when you have secured every element with glue. For protection, use sheet protectors to shield your pages from wear and tear. These transparent sleeves will not only protect but also add a polished look to your scrapbook.
And there you have it—a crash course on how to make a scrapbook. Remember, your scrapbook is not just a collection of pages; it's a time capsule of memories. So, whether you're a seasoned scrapbooking pro or a first-time crafter, don't compare your scrapbook to others and turn your special moments into a masterpiece.
Have you been looking to buy some high-quality Japanese scrapbooking supplies? Check out our ZenPop stationery store for the best deals.
This article was originally written by our freelance writer Umm-Kulthum Abdulkareem and edited by us.